After we have taken a look into Resource Crews let’s now explore what Dynamics 365 Customer Engagement can offer with Requirement Groups.
- create three Resources, each with differing skills:
Go to Field Service=>Resources=>”+ New” and create
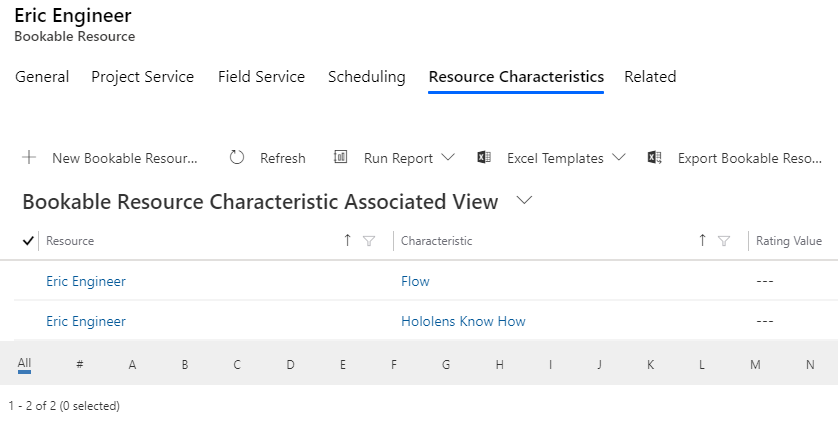
a) One User with Skills: Flow, Hololens Know How.
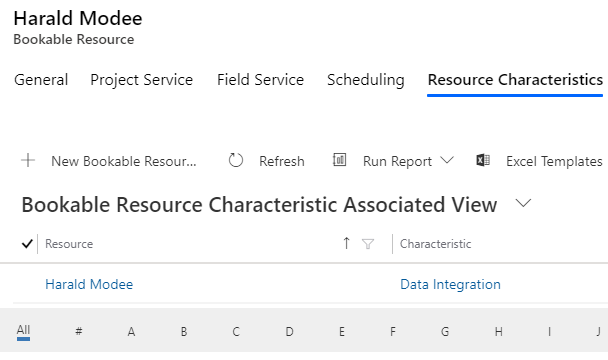
b) One Contact with Skill: Data Integration
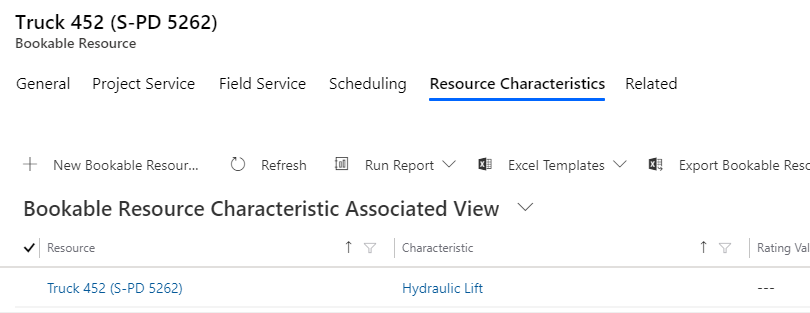
c) One Equipment with Skill: Hydraulic Lift
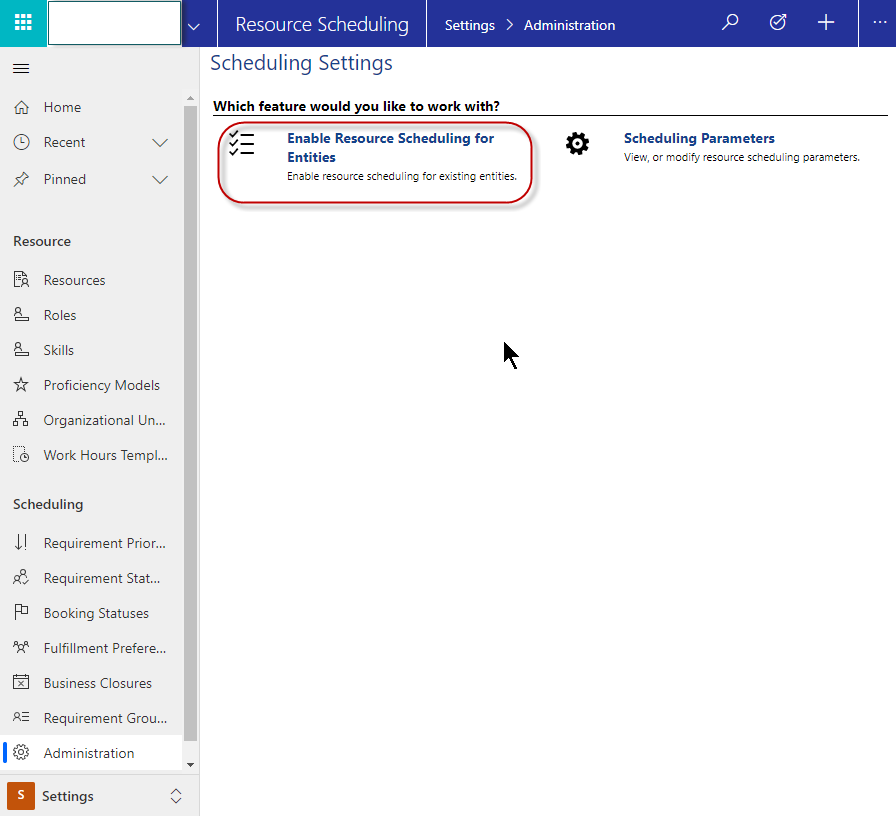
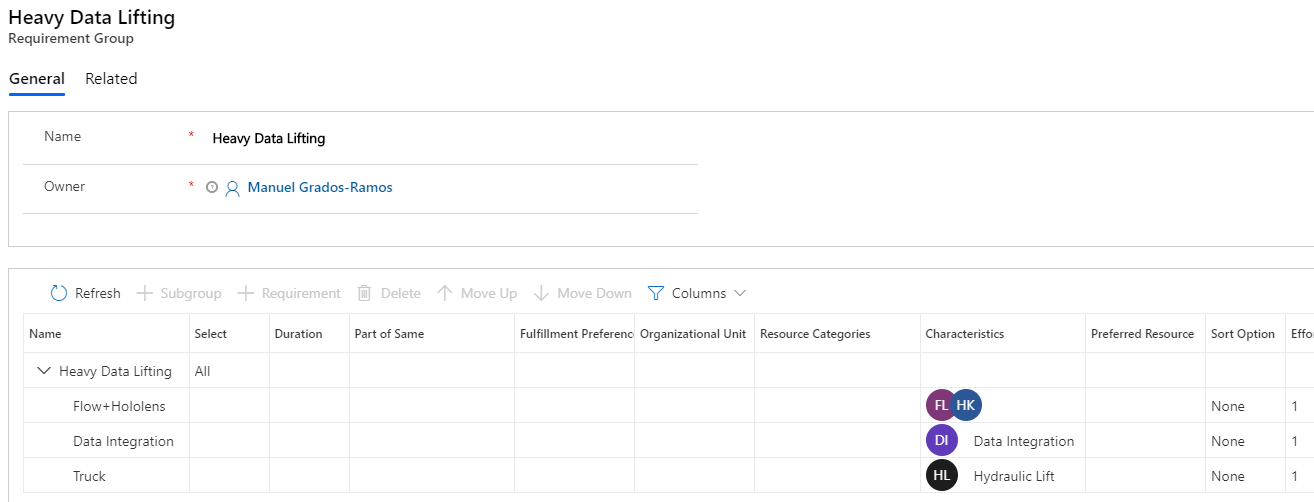
2. create a Requirement Group Template. Go to Field Service=>Resources=>Requirement Group Templates=>”+ New”
a) provide a Name, save
b) click into the first row from the subgrid and click “+ Requirement“
c) now add three requirements for getting back proposals for a team of three people and add corresponding skills
d) at the Truck Resource click on Open Form to determine which Resource Type (Equipment in this case) you are expecting
Difference between Requirement Group and Requirement Group Template
A bit confusing is, that as soon as you open a Requirement Group Template form, the menu on the left jumps back as if you would have opened a Requirement Group instead of a Requirement Group Template. [improve@MS]
Reason: technically Requirement Group and Requirement Group Template are the same entity msdyn_requirementgroup where only the records are differentiated by a flag called “Is Template”.
The title of the new-form “New Template: …” gives you the indicator that you’re creating a new template. But if you’re going to edit an existing Requirement Group Template you feel like editing a Requirement Group instead. I would therefore recommend to make the flag “Is Template” visible but read-only on the form.
If you pay close attention you recognize another difference: the lookup field Requirement Group Template is only visible on the Requirement Group form:
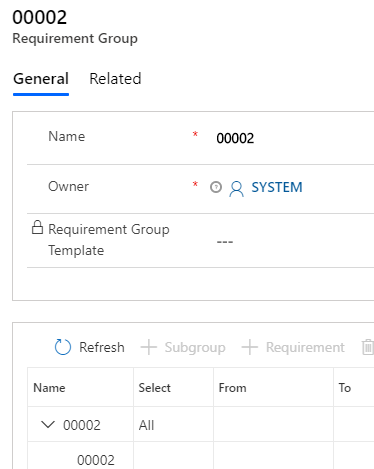
That brings us to the interoperability of the two:
if you create a new Requirement Group the above mentioned field gets unlocked so you can choose a Requirement Group Template to start from.
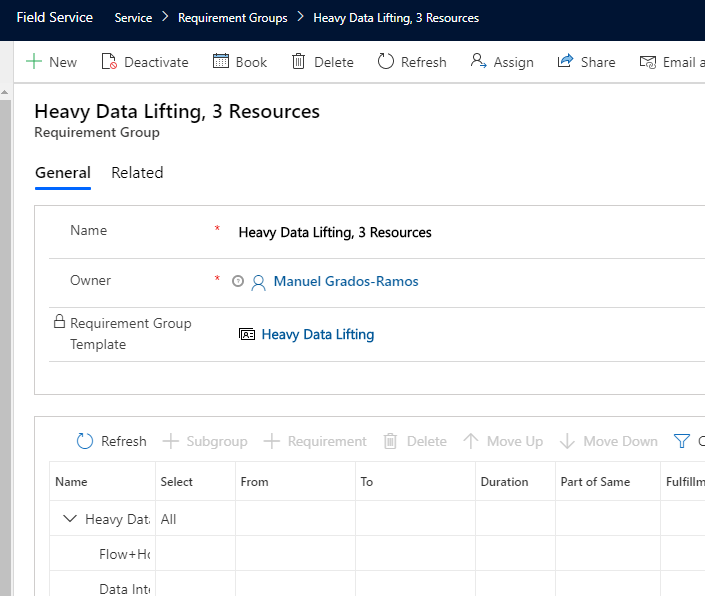
Book a Requirement Group
If done with editing the requirements you can click the Book button directly from the Requirement Group ribbon:

This will open the Schedule Assistant with a list of appropriate Resource combinations. In our example the three Resources we have configured in step 1:

On the result list you than can
- open each result row’s group to see its members
- see which of the Requirements are going to be fulfilled by which of the found resources (last column)
- adjust filter criteria and repeat search execution
- book one of the groups by clicking on it => Book & Exit on the right flyout
If you’re not getting any results you should
- probably need to adjust your search criteria
- check if you have appropriate Resources in the system at all
- check whether your Requirements do have a Service Territory associated but your Resources haven’t
Requirement Group in Schedule Board
If you now open the Schedule Board you could find something like this (too many Resources to have an easy overview):
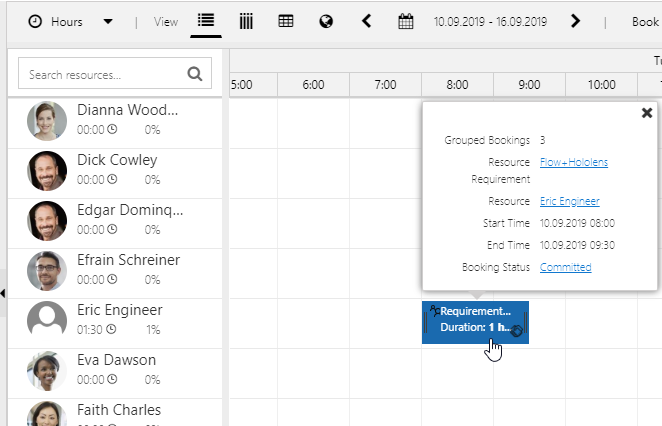
Hovering over the booking panel (screenshot above) tells you that you have a Grouped Booking. So maybe you want to do a right click at the booking and choose Split View:
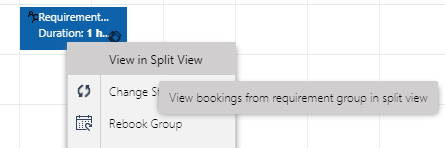
Shows you all bookings from this group (only those Resources which are on the same page of results, so you might want to increase the number of Resources per Page in Schedule Board tab settings and/or adjust your Resource filter to see all group members).
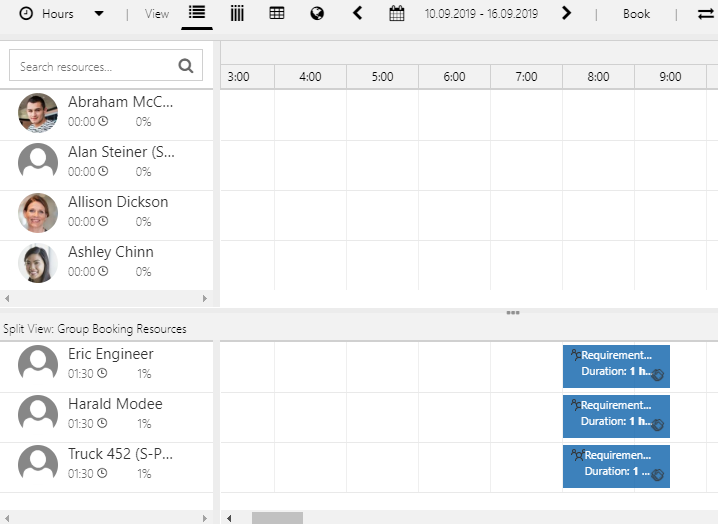
If you now drag and drop one of the bookings to a different starting time, all other bookings of this group will be shifted automatically too. Cool! That is what our customer wants!
However compared to the same procedure with a Resource Crew you don’t see the shifting immediately happening on the board, instead you need to hit the refresh-button at the top of the Schedule Board tab once to see your bookings being shifted [improve@MS].